Monday 28 October 2013

Danse Macabre

Hello!
I'm in deadline hell this week.... two projects due to get posted off on Wednesday. So what have I been doing? Sewing tutus for plastic skeletons! Here is Danse Macabre...
The coffin has been created using a Tando die cut coffin kit ( I cut off the web bit from one of the layers!). The grungy textured effect is very very easy to do, simply paint the glued together coffin black, then add splodges of puff paint randomly all over. Once the puff paint is heated, the raised texture becomes apparent! I then rubbed silver gilding wax over the whole thing to achieve the faux metal look...
My skeleton is a plastic one from the supermarket, painted black and with more gilding wax added. I made a little black net tutu, and a top hat from beads glued together!
He (she???) has a mock feather type boa, and a red UTEE heart just to give that little splash of colour. I hot glued the skeleton in position, in very much a 'Ta Da!' pose!!
This week, the theme over at Simon Says Stamp And Show Monday challenge is 'anything goes'. My slightly bonkers skeleton will fit nicely I think, so I'm linking him (her??) up!
Have a great week everyone!
Trish xxxx


Saturday 26 October 2013

Altered Tin!

Hello!
I've just taken part in a fabulous altered tin swap, hosted by the wonderful artist that is Louise (or Zuzu as she's known in crafty circles!) Now that my tin is safely in the hands of the recipient, I can share her on my blog! I made an angel.....
My tin started off as the container for some mini cookie cutters...
I decided to incorporate the tin into an assemblage piece, so I covered it with book pages along with all the other parts of my angel! I then gave everything a wash of gesso to tone down the yellowish of the pages, then added a little brown edging here and there with ink. Then it was time to put everything together! I created arms from wire, and glued them on underneath the wings...
The feet are rolled up strips of paper, twisted into a spiral and then covered with the book pages..
My angels head is a wooden bead, painted and with eyes and cheeks drawn on. Her hair is more book pages...
It's tricky to glue two curved surfaces together, especially when you don't really want lots of glue showing! The way around this is to add a 'collar' , and glue the bead into the centre of it...
The focal point of my angel is the red wire worked heart in the centre. I twisted some wire into a heart shape, then glued it to a book page. The heart was then filled with dyed glossy accents (a drop of Barn Door reinker!)....
I loved making her, and especially liked the minimilist colour scheme I chose to use, a little different from my usual pieces!
Have a great weekend!
Trish xxx


Thursday 24 October 2013

Cover Story- Bookmaking part two!

Hello!
Part two of my bookmaking series is now live over at A Sprinkle Of Imagination! This tutorial concentrates on covers and closures...here is my finished book...
Lots of pictures and a full step by step is waiting on the creative team blog here for you to look at!
Have a great day!
Trish xx

Tuesday 22 October 2013

Batty Tag!

Hello!
I think I've made more spooky Halloween creations this year than ever before.... definitely embracing all things creepy at the moment! The challenge over at Our Creative Corner this month is all about Halloween tags, and I think this little (well not so little, its one of Rangers giant tags really!) project will fit right in...
The challenge also asks for surface texture....so I've gone a bit bonkers with the texture paste...
As well as the stencilling, I've got plenty of texture going on right from the beginning. I coated my blank tag with gesso to start with, nice and thick in places. This means if you blast it with a heat gun it bubbles up, more texture!
I smeared and stamped and printed onto the tag using paint and Archival ink, before adding my figure. Gorgeously Zombie-like, I thought! This is a digi from DillyBeans , coloured with paint...
My bats are metal embellishments, with an added coat of black soot distress embossing powder to give a nice textured look..
I painted the metal black first, so it shows through were the powder has rubbed away.
I can feel more spooky makes coming up..watch this space!
Trish xxx


Monday 21 October 2013

Teeny Canvases!

Hello!
I've been playing with some very cute and tiny canvases today for my Calico Crafts DT project.... a little peek...
The whole thing is now live on the Calico Crafts blog here...
I would love it if you could pop on over and let mw know what you think!
Trish xxx

Friday 18 October 2013

Simple book making, part one....

Hello!
I'ts my turn today over at A Sprinkle Of Imagination, and I'm sharing a book making tutorial!
Here is a little closeup of one of the pages....
Please hop on over to the creative team blog to see the whole thing, with loads of step by step pics!
Trish xxx

Tuesday 15 October 2013

You're decidedly odd......

Hello!
Do you like a challenge? me too! A brand new challenge is launched today over at A Sprinkle Of Imagination..... a colour challenge! We have a gorgeous picture as inspiration, five colours to play with...

You don't have to use all five though, if you hate any you can leave them out. As long as you use at least three, (plus black or white if you want), then it's all good. My contribution is this little lady...
Yep, it's a little bonkers!
The base for my art doll is a chunky wood ATC. I've added loads of paint and texture all the way around it...
and stamping using black archival ink to give some detail...
I painted up some metal wings I've had in my stash for years (bought to make necklaces with - had a total brain freeze when it came to size and when they arrived they were clearly way too large for jewellery!)
I made a UTEE rose to embellish the front..
and added buttons for feet and a quote from an old book..
I painted a paper ball, and glued to to the top of the ATC. I then added my stamped face, complete with funky specs! She has a crown too, just to make her feel special...
So, I created a weird and colourful art doll, but you could create anything at all!
Why not hop on over to the ASOI creative team blog to have a look at what else the DT came up with, and to link up your own creations? Can't wait to see!
Trish xxxx


Saturday 12 October 2013

Inspired by....

Hello!
The challenge over at the Simon Says Stamp and Show Monday blog this week is to be inspired by the work of the fabulously talented Tammy Tutterow. Tammy has some wonderful projects on her blog, and lots and lots of great tutorials to get the creative juices flowing! I decided to have a play with her 'fused glass pendant' idea, although not using the result as jewellery. I used my piece as an embellishment on this simple canvas...
My small 4" by 4" canvas is a natural canvas, so its brown and hessian like to begin with. More obvious if I show you the sides that I sparingly stamped with Plum archival ink....
Because of the gorgeous tone already there, I didn't do too much by way of adding extra colour! A few splats and smears of brown, black and gold paint! My sun ray effect was achieved by smearing grunge paste through the 'Ray' stencil by Tim Holtz. Love this stencil!
You may just be able to make out the subtle text stamping on the rays themselves, this was done by placing the stencil over the texture paste again once it was dry, then stamping through it. Not much, in this case, I wanted a subtle look, for once! The understated background is really just there to showcase the embellishment, my faux fused glass piece!
Tammys fab tutorial will tell you how to make these! I really like how the UTEE spread beyond the embellishment when I placed it on my craft sheet to cool.... so I left it! A few gold ink splats and a chit chat sticker finished the whole thing off!
I had lots of fun playing with my melt pot to create this, great idea!
Trish xxxx


Friday 11 October 2013

Craft Stamper Blog Challenge- Get Splattered!!!

Hello!
It's time for the new Craft Stamper Blog Challenge to be revealed.... and this is right up my street! Splats! Any kind of splattering at all, be it ink, water, paint or even stamped.... that's all you need to do on your work (and a little stamping of course) and you're good to go..... easy peasy, and there are some great things to be won too. A voucher, publication and a Guest DT spot!
So.... on to my contribution...
I've made a painty panel in shades of green, with a little few silver and red accents. Three different was to add splatter on this one! You'll see as we go along.....
As I wanted to stitch onto my project, I started off with a cardstock square rather my usual chipboard. THAT won't go near a sewing machine! I used grunge paste through a new Tim stencil to create the stars...
Love these, great shape and lots of sizes on the stencil. Green paint was then smeared all over, and dried off. I covered the background then with an alphabet /text stamp.... tricky to see because the whole thing then got a wash of white! The hazy shadow of the stamping peeks through here and there for a subtle look. Lots of other random background stamping to develop the layers...
Then I started with the splats! I stamped a splat design using plum archival ink...
I also flicked black paint at my piece, to give an almost shooting star splat effect...
You can also see white splatty dots on there too.....they are melted grains of white UTEE, looks fab as a splatter! I also highlighted a few areas with silver gilding wax...if you're careful you can turn those raised UTEE dots metallic....
See how the ones on the left are all shiny silver? Love this effect!
As you can see I did some stitching.... around the edges and a little in the corner above. I also stitched a line for my girls to stand on.....
Your images always need to be grounded, can't have them floating about your work....
So.... three splatter techniques in one piece!
Please hop on over to the Craft Stamper blog, where you will find all the details of how to enter the challenge. Go on, you know you want to......!
Trish xxxxx


Wednesday 9 October 2013

Hubble Bubble....

Hello!
I've been trying out dark and sinister type colour schemes....sludge green and dark purples.....
I made a panel for my DT piece over at A Sprinkle Of Imagination today. Here is a little look..
The whole thing is over on the ASOI creative team blog right now!
Have a great day!
Trish xxxxx

Monday 7 October 2013

Prince Of Darkness

Hello!
I have definitely embraced the October spooky this year..... either that or I have totally lost the plot....
Here is a little peek at my DT piece for Calico Crafts today....
Have a look at the whole thing, why don't you?..... You'll find him HERE!
Have a great day,
Trish xxxxx

Wednesday 2 October 2013

Spooky!

Hello!
October already.....so bring on the spooky!
My project for A Sprinkle Of Imagination today is a quick and easy tag.... a bit of it looks like this...
You'll need to hop on over here to see the whole thing!
Love Trish xx

Tuesday 1 October 2013

She almost smiled....

Hello!
Its the start of the month today, so that means it's time for a new challenge over at A Little Bit Crafty!
This months theme is 'A Little Bit Shabby'......so for me that means getting all pink and Krafty! One of our sponsors this month is The Octopode Factory, so may I present Miss Freya....
Now, whilst some of the Octopode collection have been made into rubber stamps (yippee!), the whole collection is available as digital images. And yes, I HAVE used a digi stamp for this creation! How? well, a little bit of image transfer magic...... I'll show you!
First, create your background. This needs to be waterproof (you'll see why in a minute!), so acrylic paint is perfect. I've done my usual painty layers....

You need to make the place where you want your image quite light, just so you can see the lines! If the background is too dark, you won't see the image. Next print off your image. This method is not like other image transfer techniques, you just use regular paper, regular ink in your regular printer! No messing about with laser copies, photo paper and all that, just bog standard copy paper and an ink jet printer.
Now, there are two ways of trimming the image. It all depends on the pic you have chosen. If the pic has a word, or a title, or a logo, in fact anything printed that you DON'T want transferred, then you have to cut it off. This image had her name next to her, so I had to go for the close trimming option.....
I actually find it much easier to transfer when the paper is larger. If my image had just been Freya without any words or logos, then I would have cut the pic the same size as the background!
Next step.... coat the place where your image is to go with Mod Podge. Don't leave gaps or this won't work!
I've used matte Podge, glossy or satin works too. PVA glue doesn't!!!! Place your image print side down onto the glue.
At this point I should say your images will be 'flipped' once done. Words will therefore come out backwards, unless you do that mirror image thing with your computer to the image BEFORE you print it out! I don't mind Freya looking the other way to which it was intended, in fact I prefer it!
The next thing is to burnish the image, that is to press down smoothly and firmly all over so the image is adhered evenly. I generally use a bone folder or the back of a spoon. This is why I prefer a large bit of paper! It is soooo much easier to burnish a large bit of paper than a fussy cut image. Less tearing potential!
Now you need to be patient. The glue has to be absolutely, 100% dry, so leave it for 24 hours.....

Dry? yay! Now the magic.... Spritz the back of the image with water.. (this is why your background needs to be waterproof!)
As the paper soaks up the water, the image will start to appear. Once the paper is thoroughly wet (but not dripping!), take a soft cloth (dry babywipes are perfect) and start to rub off the paper. Rub in tiny, circular motions. You'll see the paper start to ball up, and once you've brushed that off, the image should be revealed....
The general idea is that the ink has somehow fused into the Mod Podge, so if you get rid of the paper, the ink is left embedded in the glue. Or something......
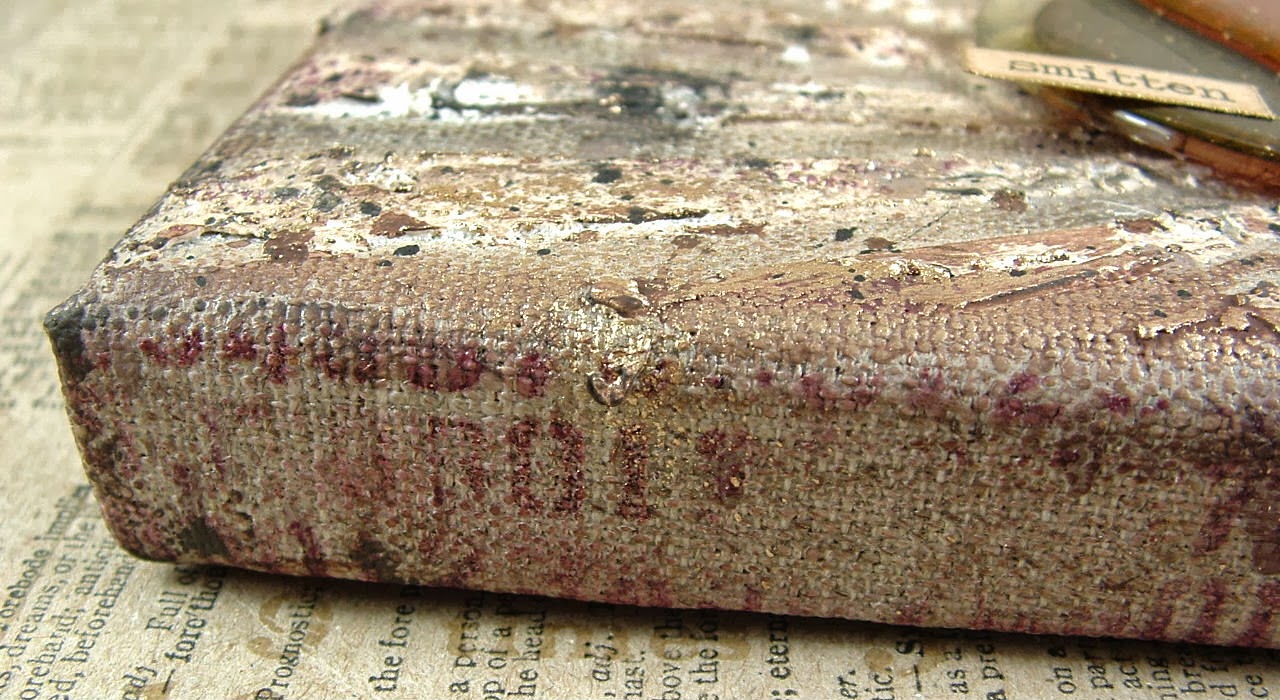
Once your paper is removed, you have the image with the background showing through...
If you had used a large bit of paper, this is still the end result, it just would have taken you longer to remove all the wet paper bits!
Now to embellish.....
Lace and buttons...
Ribbons....
Rolled paper roses...
And lots of lovely painty layers!
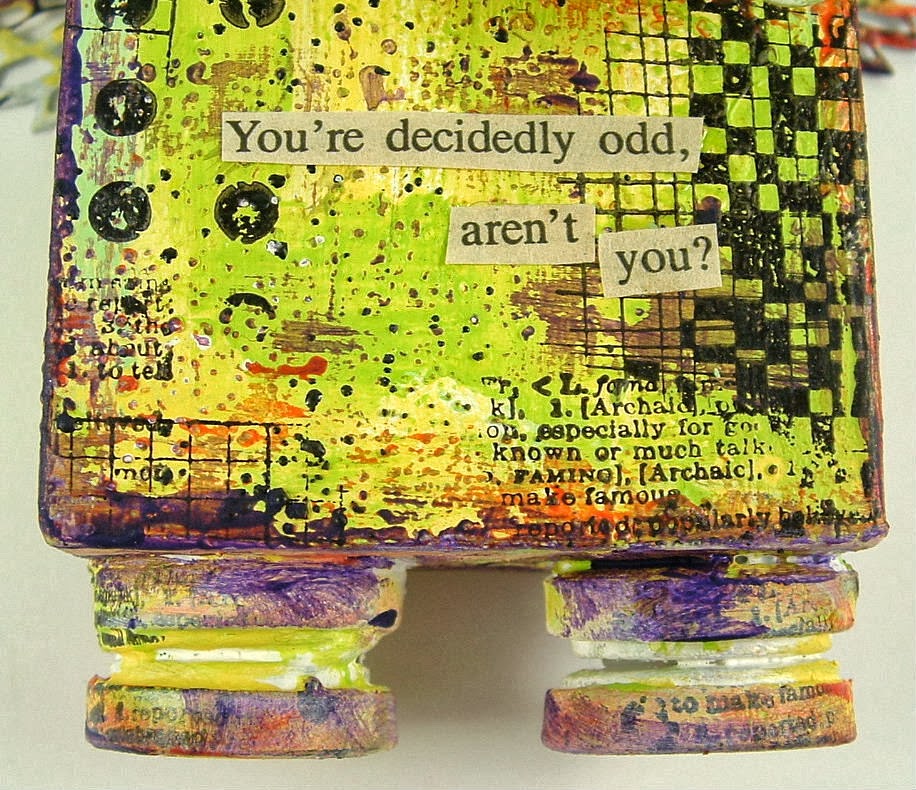
I added a phrase I found in an old book...seems to sum her up!
Hope you like her...and hope I've shown you image transfer doesn't have to involve complicated 'stuff'! Also, messy crafters like me can still use digi stamps and put our own spin on them!!
Please join in this month with 'A Little Bit Shabby'... we'd love to have you!
Trish xxxxxxx